


If you’re wondering if you can clean the transfer belt in a laser printer, the answer is YES. Cleaning the transfer belt is an important maintenance task that can improve print quality and extend the life of your printer.
The transfer belt plays a vital role in the laser printing process. It transfers toner from the drum to the paper, ensuring accurate image positioning. Over time, the transfer belt can accumulate dust, toner particles, and other debris, causing print quality issues such as streaking, smearing, or fading of the print. Cleaning the transfer belt regularly can help you maintain optimal print quality and avoid potential printing problems.
Before you start cleaning the belt, be sure to check your printer manual for specific instructions. Each printer model may have different cleaning procedures or guidelines. Here are some general steps to follow:
1. Turn off the printer and unplug the power cord. Allow the printer to cool before continuing with cleaning.
2. Open the printer’s front or top cover to access the imaging drum unit. In some printers, the transfer belt may be a separate component that can be easily removed, while in other printers, the transfer belt is integrated into the drum unit.
3. Carefully remove the transfer belt from the printer according to the manufacturer’s instructions. Note any locking mechanisms or levers that may need to be released.
4. Inspect the transfer belt for any visible debris or toner particles. Use a clean, lint-free cloth to gently wipe away loose particles. Avoid applying excessive force or touching the belt surface with your fingers.
5. If the transfer belt is heavily soiled or has stubborn stains, use a mild cleaning solution recommended by the printer manufacturer. Dampen a clean cloth with the solution and gently wipe the surface of the belt along the grain.
6. After cleaning the transfer belt, make sure it is completely dry before reinstalling it back into the printer. Avoid using a hair dryer or any heat source to speed up the drying process as this may damage the belt.
7. Carefully reinstall the transfer belt, making sure it is properly aligned and securely locked in place. Please follow the instructions in your printer manual to ensure proper installation.
8. Close the printer cover and plug it back into power. Turn on the printer and run a test print to confirm the cleaning process was successful.
By following the manufacturer’s instructions and using proper cleaning techniques, you can easily keep your conveyor belts clean and running properly. Remember, a well-maintained transfer belt not only improves print quality but also extends the life of your laser printer.
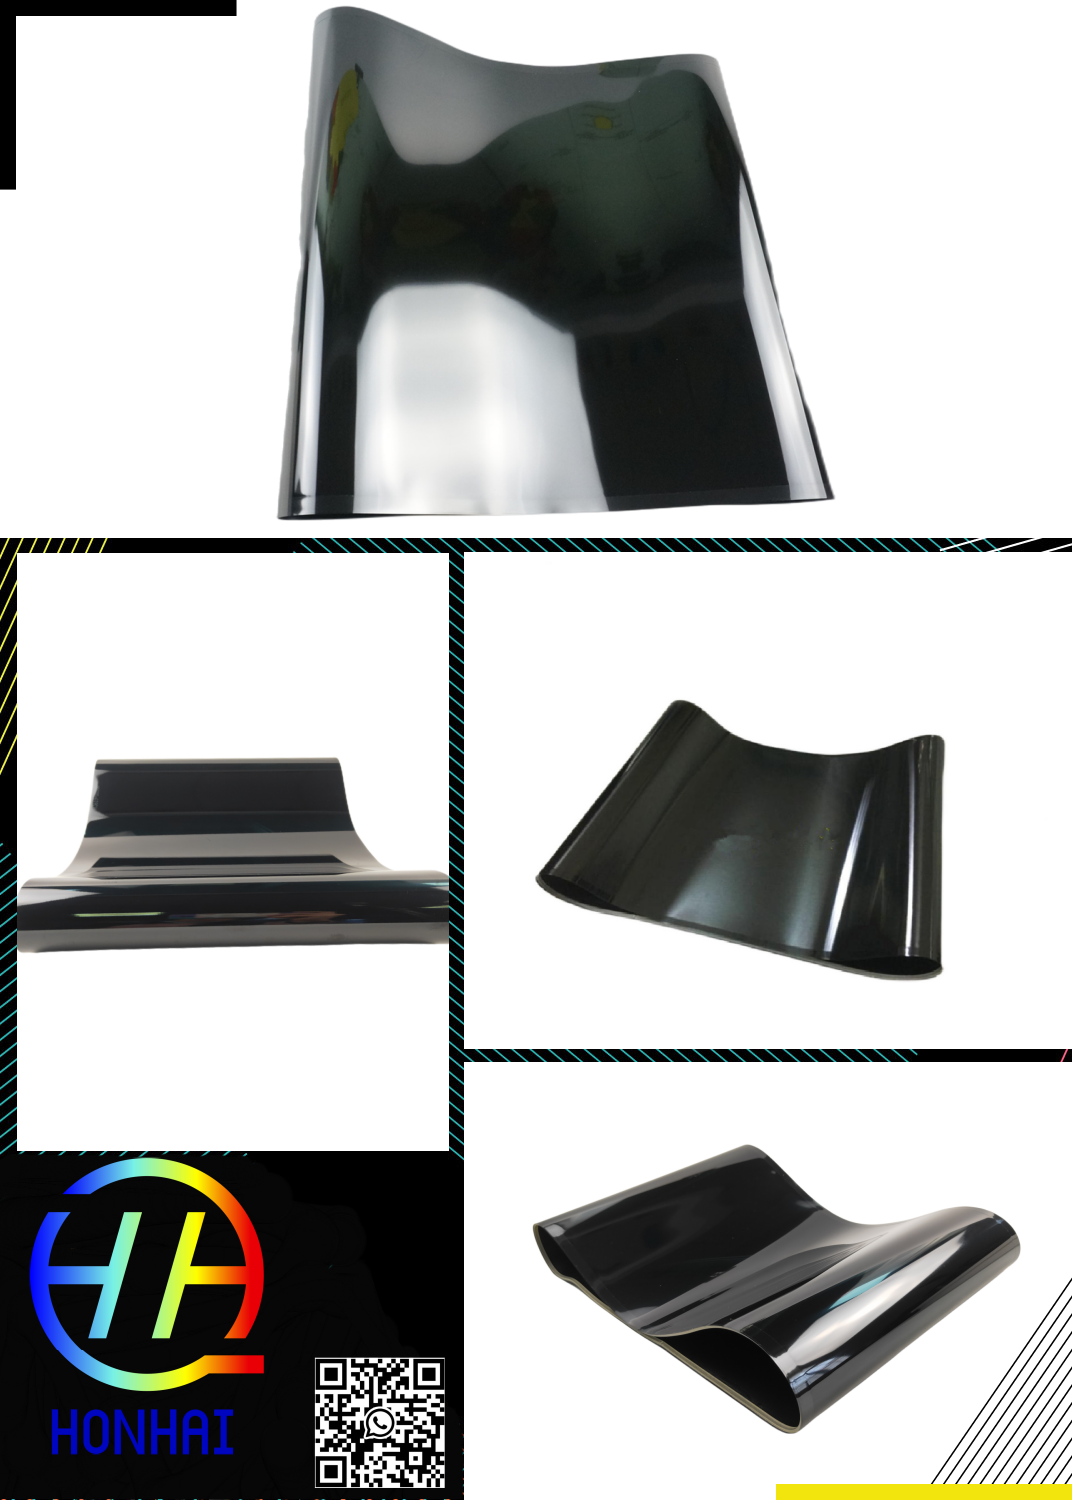
If you want to replace the transfer belt, you can contact us at Honhai Technology. As a leading printer accessories supplier, we are committed to providing customers with the best solutions in the industry. We are pleased to recommend to you HP CP4025, CP4525, M650, M651, HP laserjet 200 color MFP M276n, HP Laserjet M277, and HP M351 M451 M375 M475 CP2025 CM2320. These HP brand transfer tapes are one of the products that our customers often repurchase. They provide a reliable, durable option for your printing needs. If you require any additional information or have specific questions, please feel free to contact us. Our knowledgeable team is ready to help you make the best decision for your printing needs.
Post time: Nov-03-2023